IoT Open Basic
Basic course for IoT Open developers and integrators.
Chapter 2
“It is a capital mistake to theorize before one has data. Insensibly one begins to twist facts to suit theories, instead of theories to suit facts.”
― Sir Arthur Conan Doyle, Sherlock Holmes
After chapter 1 you should have a user account on Open Lynx and you should also know what a device, function and installation is.
What about data?
Data, or metrics, is the most important part of an IoT system. After all, that is why we are here. Please note that IoT is not only about collecting data from sensors. It is also about controlling actuators in the system.
Let's start with the data from a thermometer. It is very simple. It looks like this:
{ "value":23.4, "timestamp": 1620713198.043 }It's self-explanatory, the value reported at that time was 23.4.
But wait! How do I know what that is? It could be just anything. That is true, it could be just anything. But there is a little more to it. Let's start with the topic. Each data packet (sometimes we call it a metric) that flows through the system has a topic. In the case above, the topic might look like:
34/obj/lora/647fda00000012de/temperatureBut it might also look like this:
34/obj/zwave/usb0/node/11/air_temperatureAs you can see, they differ quite a lot. Maybe you can guess that these are two totally different types of thermometers. The first one is a LoRa sensor, and the second one is a Z-Wave sensor. So from this we learn:
Data is very simple, in its simplest form, just a value and a timestamp. The topic might be just about anything.
Cool, isn't it? Well, in order for this to make sense, we need to take a deeper look into functions.
More about functions
You already know from chapter one that a function represents something that you can measure or control, and as seen above, data seems to be connected to topics. The topic is the key to finding data, but in order to know what data we get we need functions (and devices). So the data is accessed by topics and DevX/FuncX is a catalog over these topics.
So let's have a closer look at a function.
{
  "id": 1442,
  "type": "temperature",
  "installation_id": 34,
  "meta": {
    "icon": "thermometer",
    "name": "My thermometer",
    "topic_read": "obj/lora/647fda00000012de/temperature",
    "format": "%.2f",
    "visible": "1"
  }
}
This is a function in its simplest form. There are only a few parameters that are mandatory, installation_id, type,
and meta. The id is also mandatory but that one is handled by the platform. We already know about installation and why it is mandatory right? If you don't remember this, see chapter 1 about installations. So now let's look at meta and types.
Function metadata
The mandatory object meta in a function is where information about the function is stored. It is very useful and might be used for almost anything. We will dig deeper into metadata in the next chapter, but here we will only talk about the function-specific metadata.
In IoT Open we like freedom. So the metadata might be just anything. But to make it easier to build applications, we have set up some rules.
These metadata fields are mandatory
name: The name of the function.
icon: The icon to use when presenting this function.
format: Format string as a printf format string. Please observe that the value is always a float (%f).
visible: Whether this function should be visible in user interfaces where the flag is honored.
This is also what you can expect go get when building an application towards IoT Open. But hey, still nothing about the data? Not yet, but here it comes:
Function topic metadata
In the metadata of the function there should also be a description about how to get or set data for the function i.e. define the topic or topics needed to find data for the function. Although not strictly required, it is strongly recommended to name these topic_*. For instance the topic to read (get) data from the sensor should be named topic_read. If you have a function you also can write to you also can define topic_write. Please note the difference.
A thermometer will only have a topic_read. So the thermometer itself writes to topic_read and everyone else listens to topic_read. It might seem strange if you are the thermometer that you should write to topic_read but it actually makes sense, doesn't it? Since a topic_write in this case would be setting the temperature, and that is not really
possible with a thermometer.
A wallplug however, is controllable and therefore needs a topic_write. When written to topic_write the wallplug changes state. The wallplug might also have a topic_read to which is reports the current state. So when a message is posted to topic_write the wallplug changes state and reports back to topic_read. If you want to know the status of
the wallplug you will use topic_read and if you want to control the wallplug you will use topic_write. If you are the wallplug, then of course it's the other way around. You will listen to topic_write do your thing and write the new state to topic_read.
It is recommended but not mandatory to always have a topic_read set if it makes sense.
Predefined function types
This section should just be looked at quickly. There is no need to fill you brain with this right now. Only note that there exists predefined function types. When you need it, come back here or look at the documentation:
Since some functions are more complex than others, we have defined some that covers most cases. It is wise to use these when possible to make it easier to write applications using them.
These are defined.
- switch
- movement
- door
- dimmer
- boolean_text
Before looking at them let's explain why we need them. We start with the switch, and the rest will be easy to understand since they are following the same pattern solving the same problems.
There are many types of switches. What they have in common is that they switch states. But how they do it depends on the manufacturer, the type of actuator and so on. Some systems try to normalize the function so all switches (and other devices as well) looks the same. But if that is done, there will always be a limit in number of devices supported by the system. IoT Open supports any device, remember FunctionX. IoT Open is true to the data, and the data that comes in is what gets out.
On one switch 0 represents off and 255 represents on. On another switch it is 0 and 1, and on a third it is 0 and 8. This is just some examples, there are more. Instead of trying to understand those, it is up to the function to define what is what. On a switch we need to know what value that represents on and what represents off. Now I think you understand the problem so here comes the list of predefined function types, and the metadata preferred for them.
| Function type | Metadata | Example |
|---|---|---|
| switch | topic_read topic_write state_on state_off text_on (optional) text_off (optional) |
{
"id": 1,
"type": "switch",
"installation_id": 1,
"meta": {
"name": "My light",
"topic_read": "obj/zwave/node/1/switch",
"state_on": "255",
"state_off": "0"
}
}
|
| movement | topic_read state_movement state_nomovement text_movement (optional) text_nomovement (optional) |
{
"id": 2,
"type": "movement",
"installation_id": 1,
"meta": {
"name": "Motion",
"topic_read": "obj/zwave/node/2/motion",
"state_movement": "8",
"state_nomovement": "0",
"text_movement": "Someones moving",
"text_nomovement": "Still"
}
}
|
| door | topic_read state_open state_closed text_open (optional) text_closed (optional) |
{
"id": 3,
"type": "door",
"installation_id": 1,
"meta": {
"name": "Main door",
"topic_read": "obj/zwave/node/12/alarm_door",
"state_open": "255",
"state_closed": "0"
}
}
|
| dimmer | topic_read topic_write min max topic_read_onoff (optional) topic_write_onoff (optional) state_on (optional) state_off (optional) |
{
"id": 4,
"type": "dimmer",
"installation_id": 1,
"meta": {
"name": "Kitchen lamps",
"topic_read": "obj/zwave/node/14/dimmer",
"topic_write": "set/obj/zwave/node/14/dimmer",
"max": "100",
"min": "0"
}
}
|
| boolean_text | topic_read state_true state_false text_true text_false |
{
"id": 5,
"type": "boolean_text",
"installation_id": 1,
"meta": {
"name": "Car tracker",
"topic_read": "obj/tracker/gps/1/moving",
"state_true": "1",
"state_false": "0",
"text_true": "Moving",
"text_false": "Still"
}
}
|
| {all} | name icon format visible |
{
"id": 6,
"type": "unknown",
"installation_id": 1,
"meta": {
"name": "Hidden function",
"icon": "generic",
"format": "%.2f",
"visible": "0"
}
}
|
Like stated above there is no need to memorize this, the table will be here in the future as well. If you get the concept, it's fine.
Function types
In the previous section we introduced function types. The type of the function is mandatory. But it is actually not used in the platform for anything, except telling the application what type of function it is and how to present it. You can use your own function types, and they will fall under all in the table above. Like written before, it is good to have a topic_read where it makes sense.
So now we have learned enough to test some of our new skills out.
Practical steps
On this site there is a workbench suitable to test IoT Open out. Some things you can do in the workbench you can also do in the standard user interface. The workbench itself in an example of an IoT application built on IoT Open using only the available API.
In this exercise we will use both the workbench and the standard user interface to illustrate data through the system.
So let me introduce, the Workbench!
The Workbench
As you will see, there are many ways to interact with IoT Open. We will see more during this course. You have already seen the interface bundled with IoT Open, and now we will use the workbench. The workbench is a tool for elaborating and testing IoT Open. Be careful since it is very powerful and there is no undo...
We will start with the Function tool. With this tool you can create and modify functions. In the editor you will see the function in json data just as you will from the API. Let's create our first function!
- Start the workbench
- If you are not logged in, you will be asked to log in. Use the credentials you created in chapter 1.
- Once logged in, choose your installation in the dropdown up in the right corner.
- Click on "Function" in the menu up to the right.
Ok, lets take a break here and see what we have. You should see something like this.
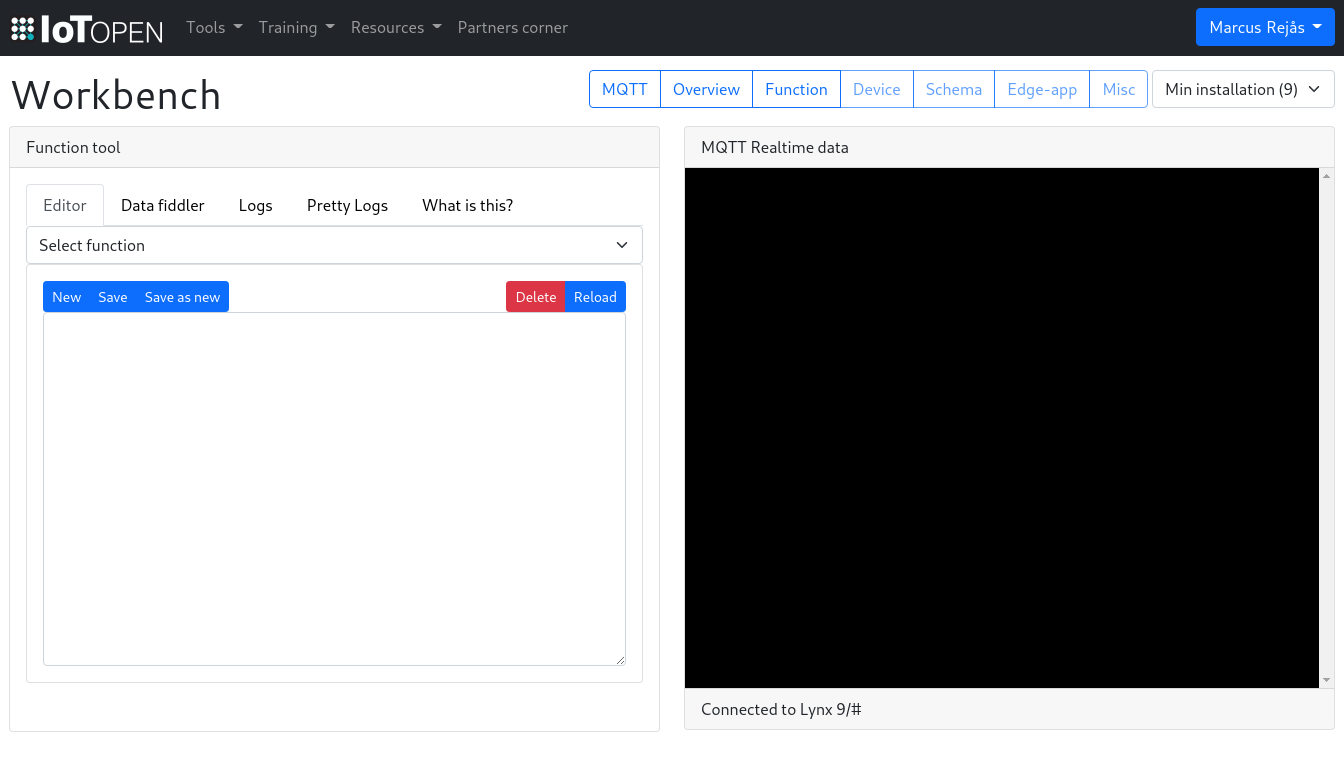
There are two sections of the tool. The one to the right is the MQTT debug window where you will see all data from your installation in real time, and to the left you see the tool you currently are using. In this case the function tool. In some cases the tools needs more space, and the MQTT window might be less interesting. Then you can click on the MQTT option in the menu to toggle the visibility of the MQTT-window. At this point there won't be much happening in the MQTT window because there is no data flowing for your installation yet. But leave it open, there will be data really soon.
Got it? Ok, lets move on and create out first function.
Function editor
- In the function editor, click on
New.
The editor populates with an example function like the one below. For now, it is ok.
{
  "type": "example",
  "meta": {
    "icon": "generic",
    "name": "My Function",
    "topic_read": "obj/workbench/sensor1/example",
    "visible": "1"
  }
}- Save it by clicking on
Save as New, theSavebutton will not work in this state since it is now saved yet.
When saved you will see that it got some new data from the platform, like id and some timestamps. Please note that there was also a message published on MQTT. This is a signal that the functions in some way was changed in the installation. As an integrator this might be useful to be alerted about when it is time to update your functions. But we will cover that later.
Now start a new browser or browser tab and log in to the standard user interface and navigate
to your installation. If you were already there you need to refresh the page since the standard user interface don't
update itself dynamically. You should now see your new function. Open it by clicking its id in the list. Notice that some meta i.e. the icon, name and visible is presented in the interface while the rest, like topic_read is presented in a list. You can change the function both in the standard user interface and in the workbench. Try and see how it works. Also note that there is a message on MQTT for each change.
- Set a metadata key called
mymetawith valuetestin the standard user interface and note what it looks like in the workbench. - Click on
Reloadin the editor to get the latest function.
We will cover meta more in depth later on. But now, lets produce some data from our function.
Function data fiddler
As you may see in the standard user interface there are no data from our function. This of course makes sense, but it would be nice to have some. This is where the data fiddler comes in.
- Start the data fiddler by clicking on the
Data fiddlertab.
There are three sections in the fiddler. The first is a summary of the function. The second is the last known value from the function. Please note that this value is fetched from the data storage and is not in real time as the one on MQTT. There may be a delay for some seconds before the latest value is in the log, and you'll have to press the refresh icon to update this window. The third is the Data fiddler that you can use to publish a value on MQTT to one of the topics of the function.
- Publish
1.2as the value of the function. You can leave themsgfield for now. That will also come later.
You will see the value on MQTT in the debug window.
- Refresh the "Last known status", and you should see it there to.
- Visit the standard user interface and look at the function and also there the value should be visible.
Did you see it? Great!
Summary
In chapter 2 we have talked a little more in depth about functions and also started on metadata. We introduced topics and, we tried the workbench.
Now you should have a function in your installation, and you should have sent a value on its topic_read. You should be able to see the value both in the standard user interface and in the data fiddler on the workbench.
You are now well-prepared for the next chapter!